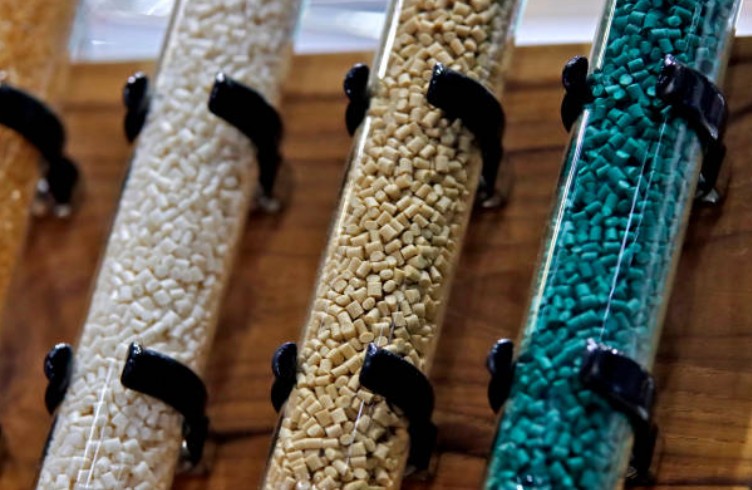
In the field of precision injection molding, material shrinkage is one of the core parameters determining product dimensional accuracy. With the pursuit of micron - level tolerances in modern manufacturing, accurately measuring and controlling material shrinkage has become a key prerequisite for mass production of high - end products. This article systematically elaborates on the measurement methods of material shrinkage in precision injection molding and provides professional guidance for production practice by integrating intelligent technology applications.
The shrinkage rate of precision injection molding materials refers to the percentage reduction of a plastic part’s dimension relative to the mold cavity dimension after the plastic part is taken out of the mold and cooled to room temperature. The calculation formula is:
Shrinkage rate S = (Mold cavity dimension - Actual plastic part dimension) / Mold cavity dimension × 100%
This value directly affects mold design compensation and is the fundamental data to ensure product dimensional accuracy.

Material properties万彩网100线路: Crystalline plastics (such as POM, PA) usually have a shrinkage rate of 1.5% - 3%, while amorphous plastics (such as PC, ABS) mostly range from 0.5% - 1.5% (according to common engineering plastic property handbooks).
Molding process: Increasing holding pressure will reduce the shrinkage rate, and mold temperature fluctuations will cause shrinkage deviation (specific values vary by material and product).
Product structure: Increased wall thickness will increase the shrinkage rate, and complex structures may produce anisotropic shrinkage (summarized from mold design practice).
Use ISO 294 - 4 or ASTM D955 standard molds to injection - mold standard samples (internationally accepted testing standards).
Samples are conditioned in an environment of 23℃ ± 2℃ and relative humidity 50% ± 5% for 48 hours (in line with ISO 291 environmental conditioning standards).
Use a coordinate measuring machine with an accuracy of 0.001mm to measure key dimensions of the samples (industry - common measurement methods).
万彩网100线路Calculate according to the shrinkage formula, with each sample measured at least 3 times to take the average, and each group of experiments with no less than 5 samples (a common practice to ensure data reliability).

For key dimensions of mass - produced products, reserve measurement benchmarks in the mold design stage (common operation in actual production).
During the first mold test, select 30 consecutive mold - produced plastic parts as samples to exclude initial unstable factors (industry - common mold testing procedures).
Focus on measuring the shrinkage values of different parts of the product and draw a shrinkage rate distribution map (an effective method for optimizing molds).
Combine with the mold cavity dimensions to calculate the actual shrinkage rate of each part, providing data support for mold correction (core link of mold debugging).
Install laser distance sensors at key positions of the injection molding machine, with an accuracy of up to 0.1μm (achievable with existing sensor technology).
Combine with in - mold pressure sensors to collect real - time dimensional change data during the plastic part cooling process (common configuration in intelligent production).
Through the industrial internet platform, compare real - time data with preset parameters and automatically calculate the instantaneous shrinkage rate (application scenario of Industry 4.0 technology).
Application scenario万彩网100线路: Process control in the production of products requiring high - precision tolerances such as automotive connectors (this field has extremely high requirements for dimensional stability).

Use advanced simulation software such as Moldflow and Sigmasoft, input material PVT characteristic curves and mold structure parameters (mainstream CAE analysis process).
Simulate shrinkage distribution under different process parameters to predict potential shrinkage deviation areas in advance (core function of simulation software).
Combine with machine learning algorithms to optimize the simulation model through historical production data and improve prediction accuracy (typical application of artificial intelligence in manufacturing).
Advantage: Shrinkage rate measurement can be completed before mold manufacturing, reducing the number of mold tests and lowering development costs (benefits verified by industry practice).
Glass fiber/carbon fiber reinforced plastics need to distinguish between longitudinal and transverse shrinkage rates, with certain differences (the influence of fiber orientation on shrinkage has been confirmed by the industry).
Measurement method: Mark fiber orientation in the sample and use microscopic image analysis technology to assist in dimension measurement (professional measurement method for reinforced materials).
Correction coefficient: Establish a shrinkage rate compensation formula based on fiber content (empirical formula based on material mechanical properties).
Use the Archimedes drainage method to measure the density of the plastic part and calculate the volume shrinkage rate combined with volume change (a classic method for measuring physical properties).
For the problem of uneven micropore distribution, use CT scanning technology to obtain the internal structure and correct the linear shrinkage rate measurement value (application of non - destructive testing technology).
Influence of process parameters: The content of foaming agent has a certain influence on the shrinkage rate (known law of microcellular foam process).

Establish a material - process - shrinkage rate database and store it by material grade (an important way of enterprise technical accumulation).
When correcting the mold, adopt the “shrinkage rate + actual deviation” dual - factor compensation method (practical strategy for mold debugging).
In mass production, extract a certain number of products from each batch for shrinkage rate re - inspection, and use the control chart method to monitor stability (common practice of statistical process control).
Verification case: Medical syringe push rods can significantly improve the dimensional qualification rate through scientific measurement methods (medical products have strict requirements on precision, and the optimization effect can be quantified).
Medical industry: Syringe barrels use light transmittance measurement to assist in dimension verification to ensure shrinkage uniformity (special quality control requirements for medical products).
Electronics industry: 5G radomes need to consider shrinkage changes after temperature cycles, and measure after thermal shock tests (common process of environmental adaptability testing).
Common problem: Measurement of shrinkage rate for thick - walled parts requires extending the conditioning time to avoid the influence of post - shrinkage (basic knowledge of material post - treatment).
Solution万彩网100线路: Develop a special post - shrinkage prediction model to predict dimensional changes within a certain period (technology development based on material aging characteristics).
With the development of precision manufacturing technology, shrinkage rate measurement has upgraded from the traditional mode to the whole - process control of “simulation prediction - online monitoring - intelligent compensation”. Enterprises should select suitable measurement methods according to product precision requirements and material characteristics, and control shrinkage rate fluctuations through digital means to provide reliable guarantees for high - end equipment manufacturing.


